Table Build - BOX
Article Index
Using nothing but scrap wood from other projects and a whole lot of measuring we began construction. We decided to create sliding doors for the front and back of the box which made the box simpler and cheaper. The following image shows the door slide guides being glued into place and the keystone plate created to connect the network cables to the DVR wiring. The box was constructed entirely by my son who refused to let me do anything!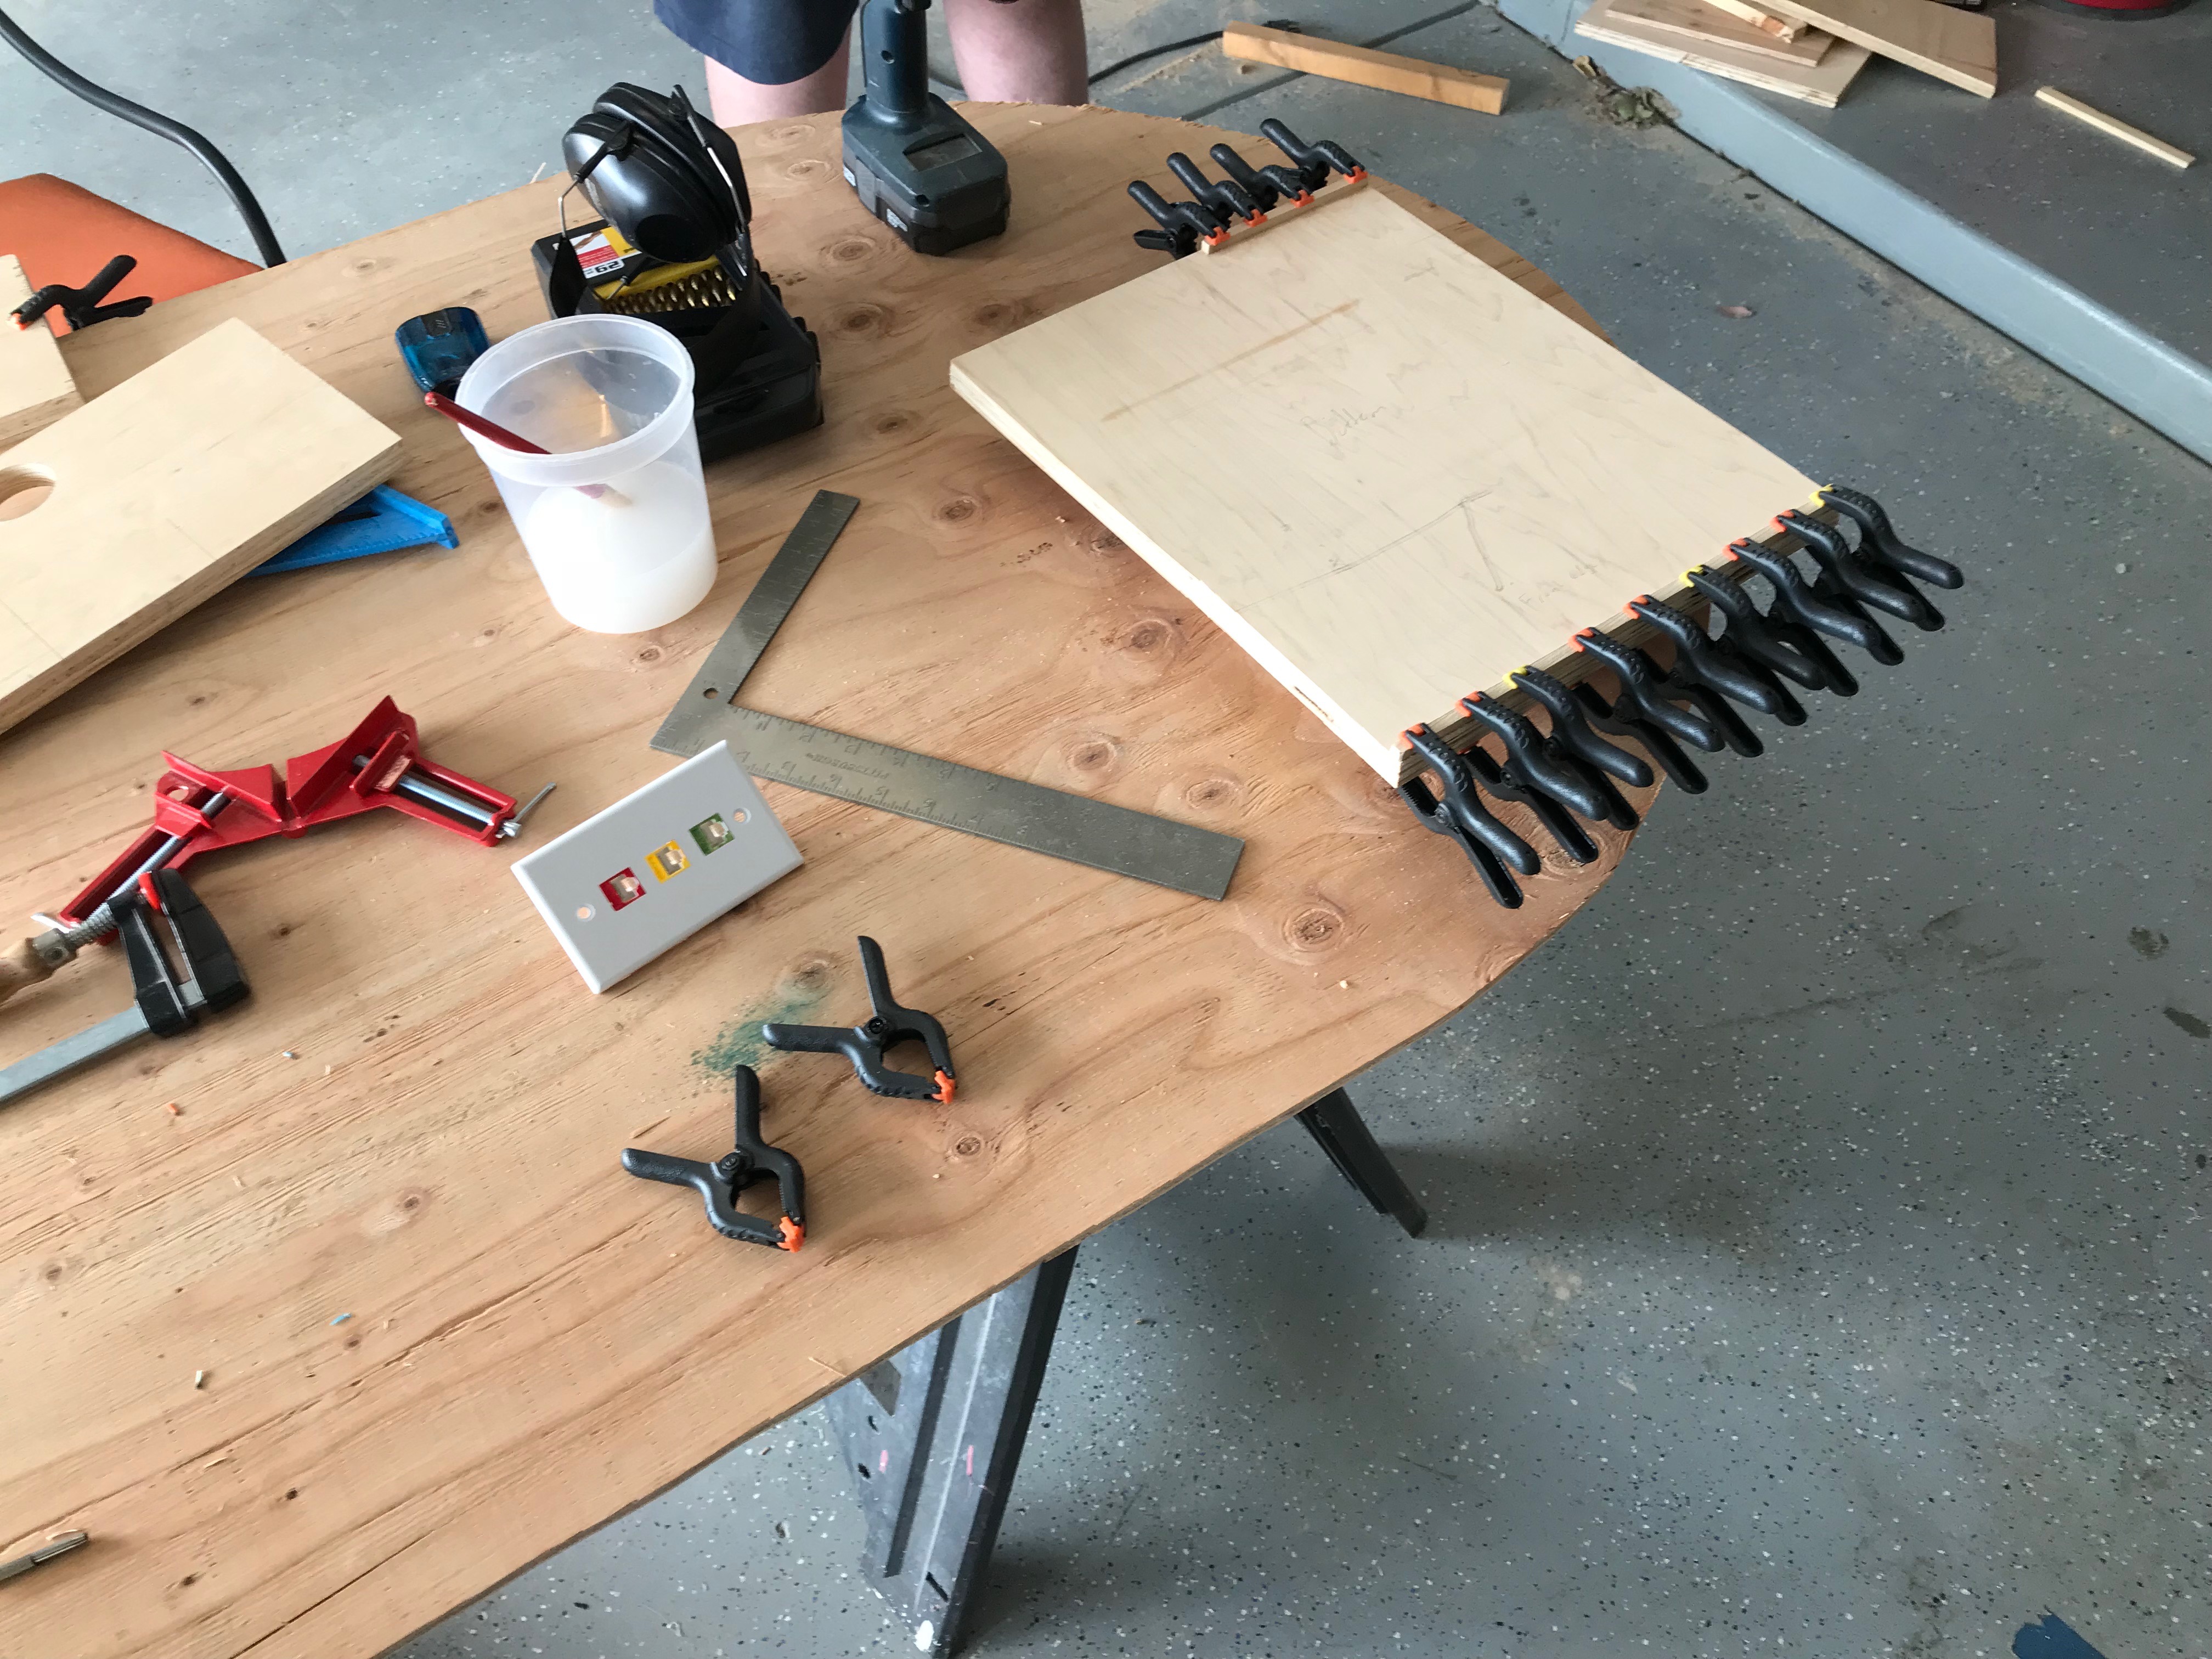
Next came the side panal shelf supports being glued into place. The holes in the sides line up with the vent holes in the DVR. The handles are simple drawer handles purchased at Home Depot.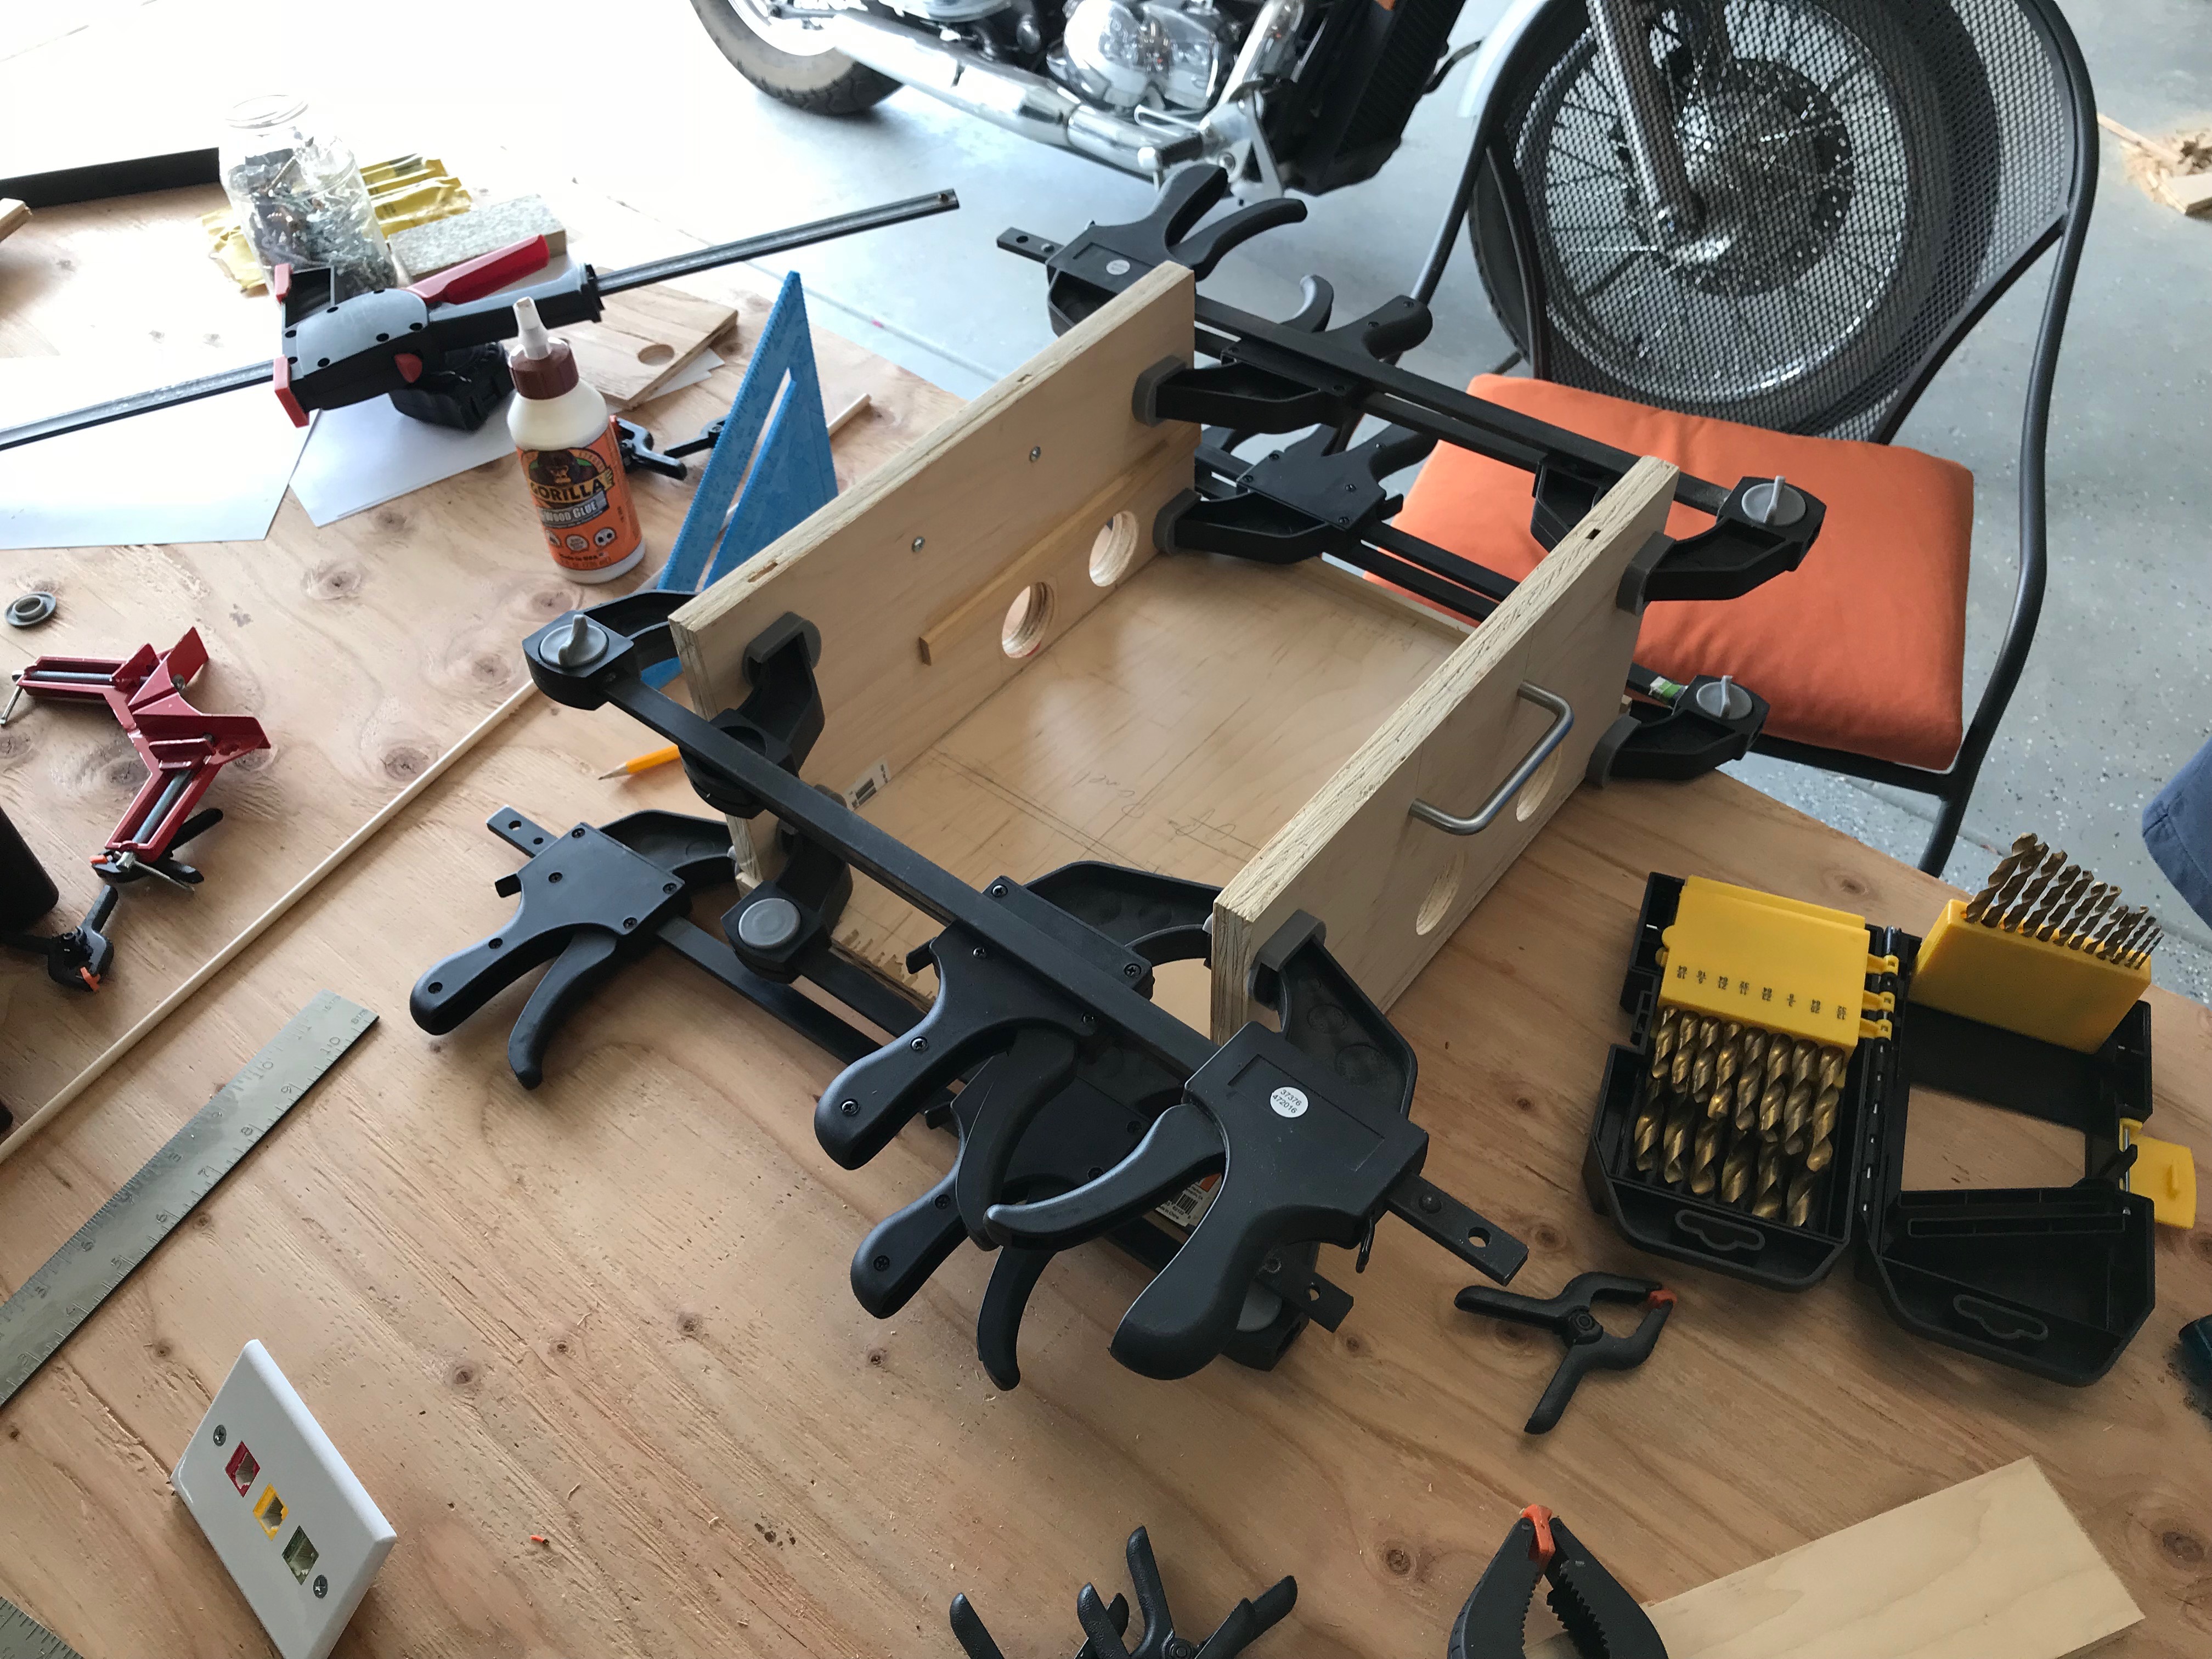
The following shows the assembly of the box. Attach the sides to the base by gluing and screwing from the bottom.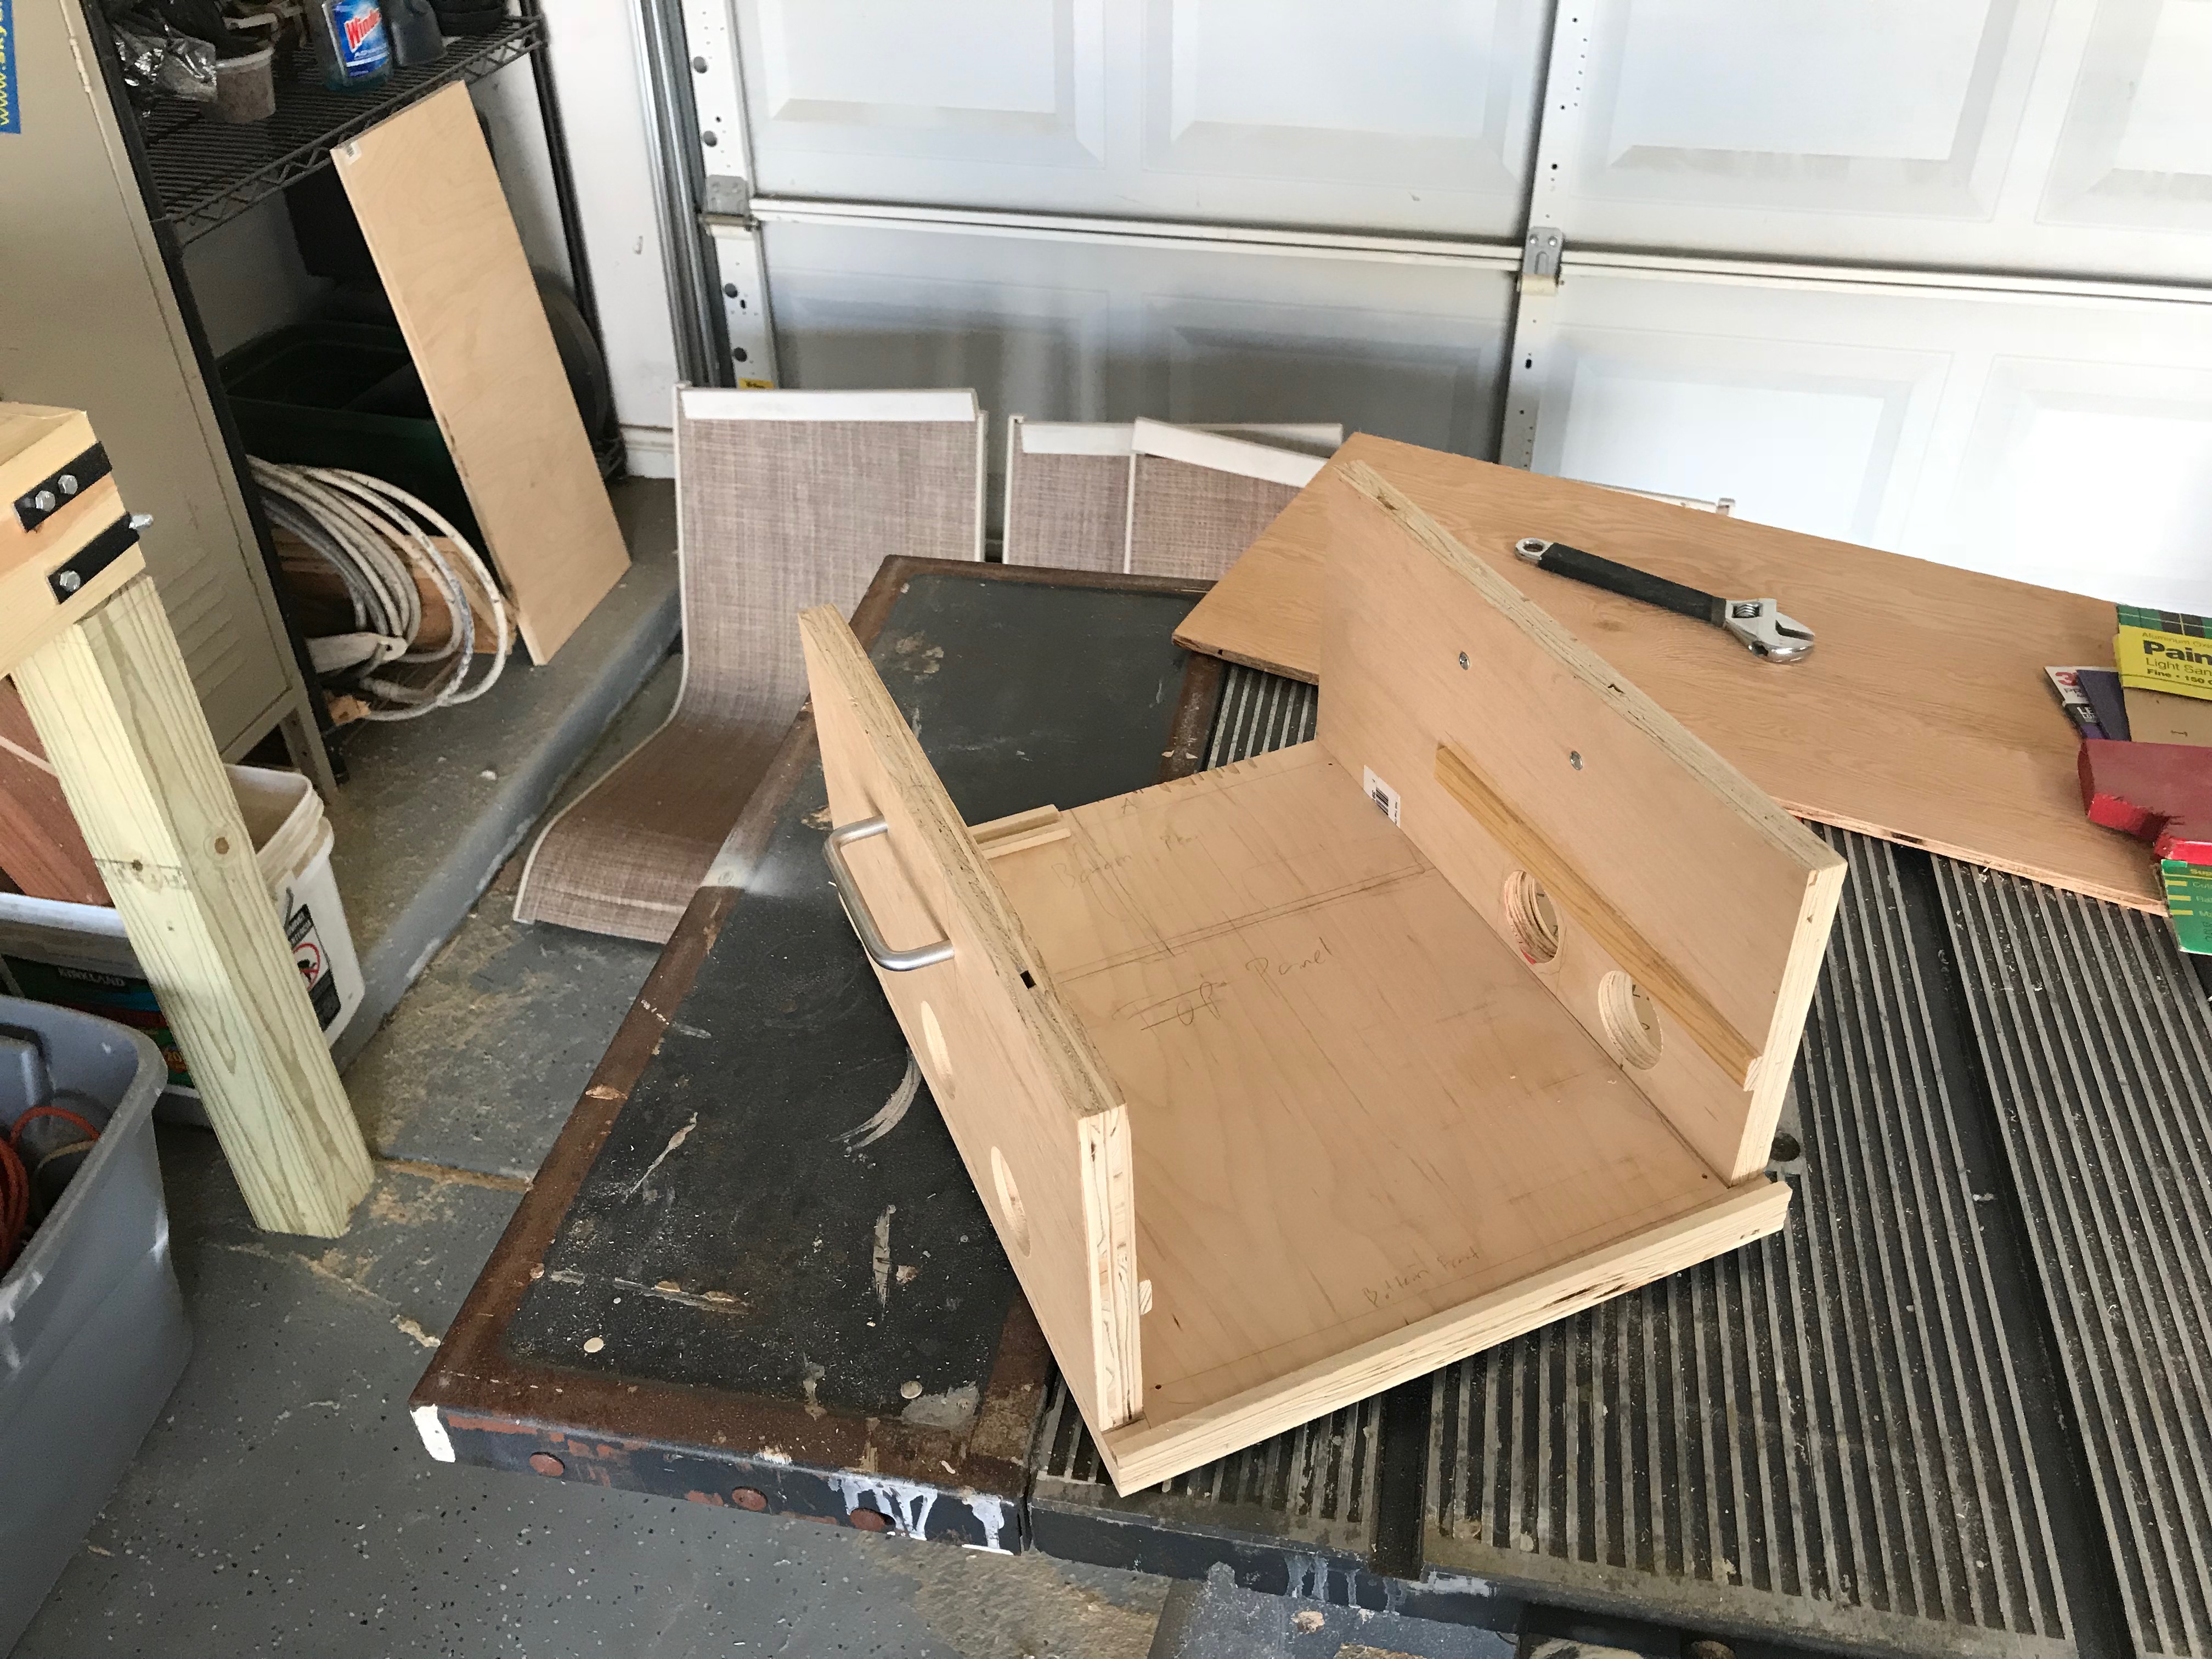
Attach the back panel. Note the shape of the panel and the large rectangular hole. The shape creates a small alcove area for the baluns and wiring to reside behind the DVR. The shape allows for the rear sliding door and alcove area behind the DVR. This alcove is where all of the cabling attaches when in use. 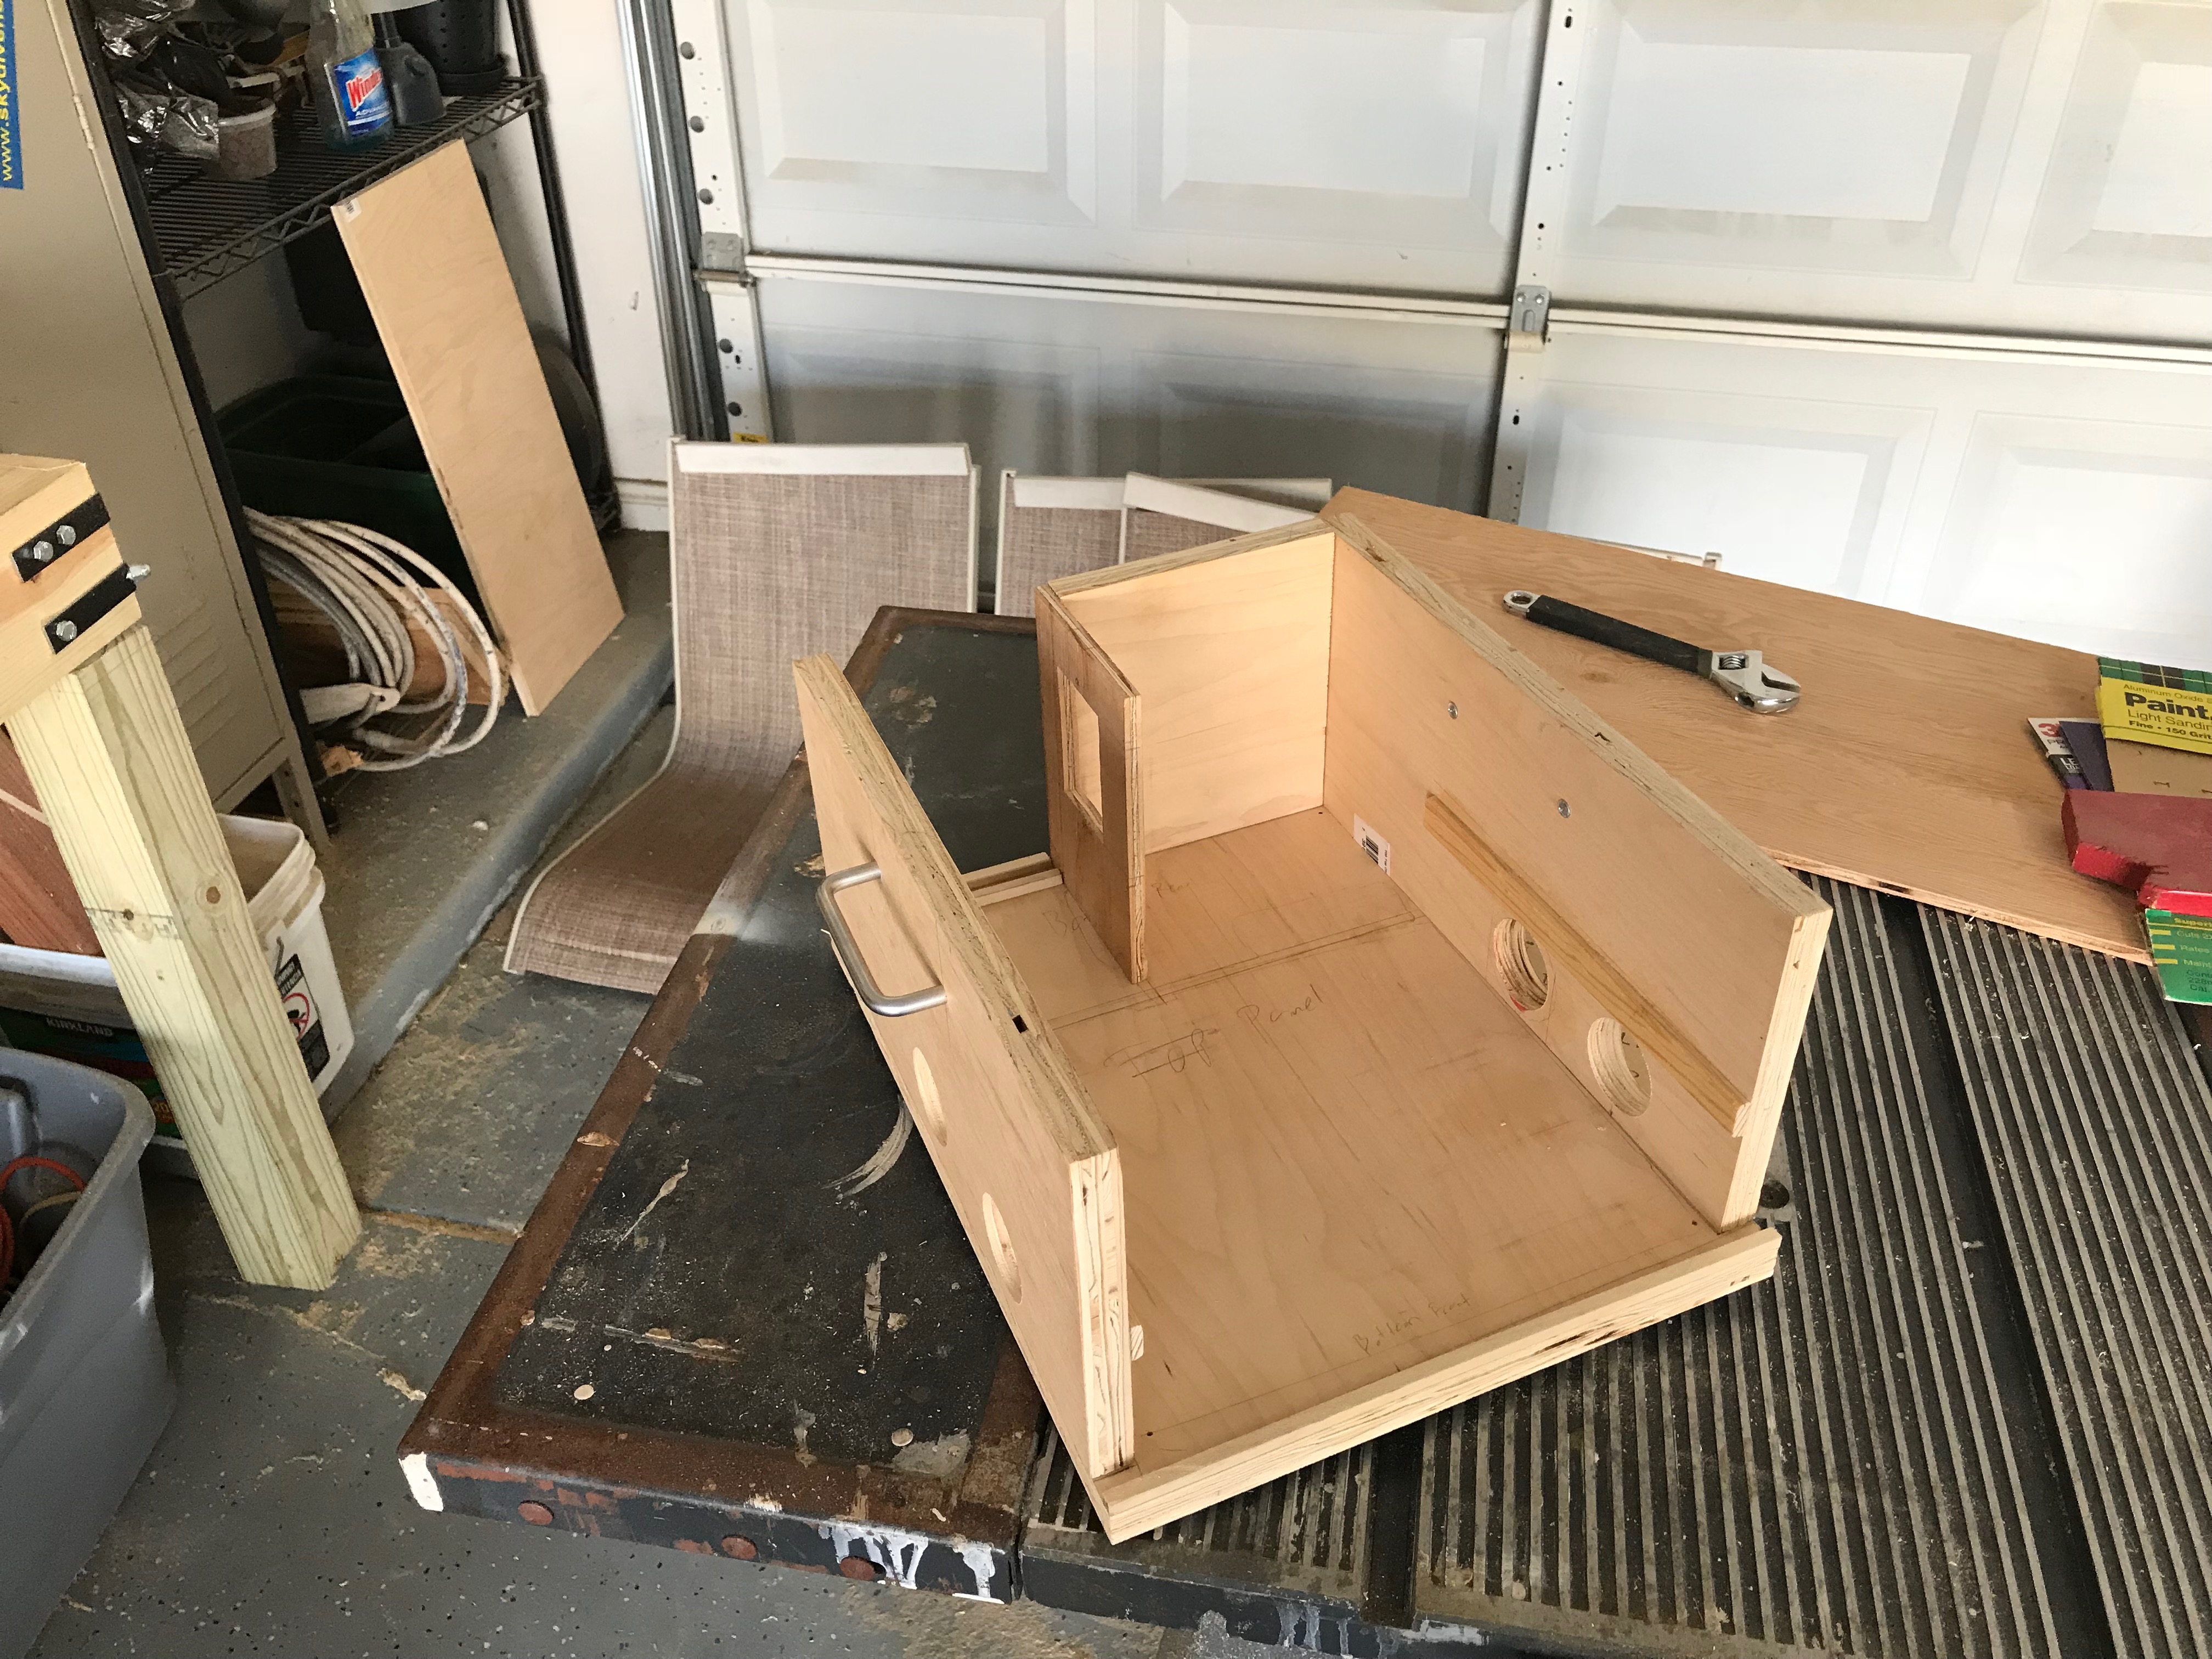
Next we add the inner back panel. This panel also has holes for the wiring to the DVR, and all of the connections needed for monitor, mouse, USB, and power. The tolerances here where very tight and we did sacrifice the HDMI connector by placing the back panel wall directly over the top of it. Since we know we will be using the VGA connection it was no big deal.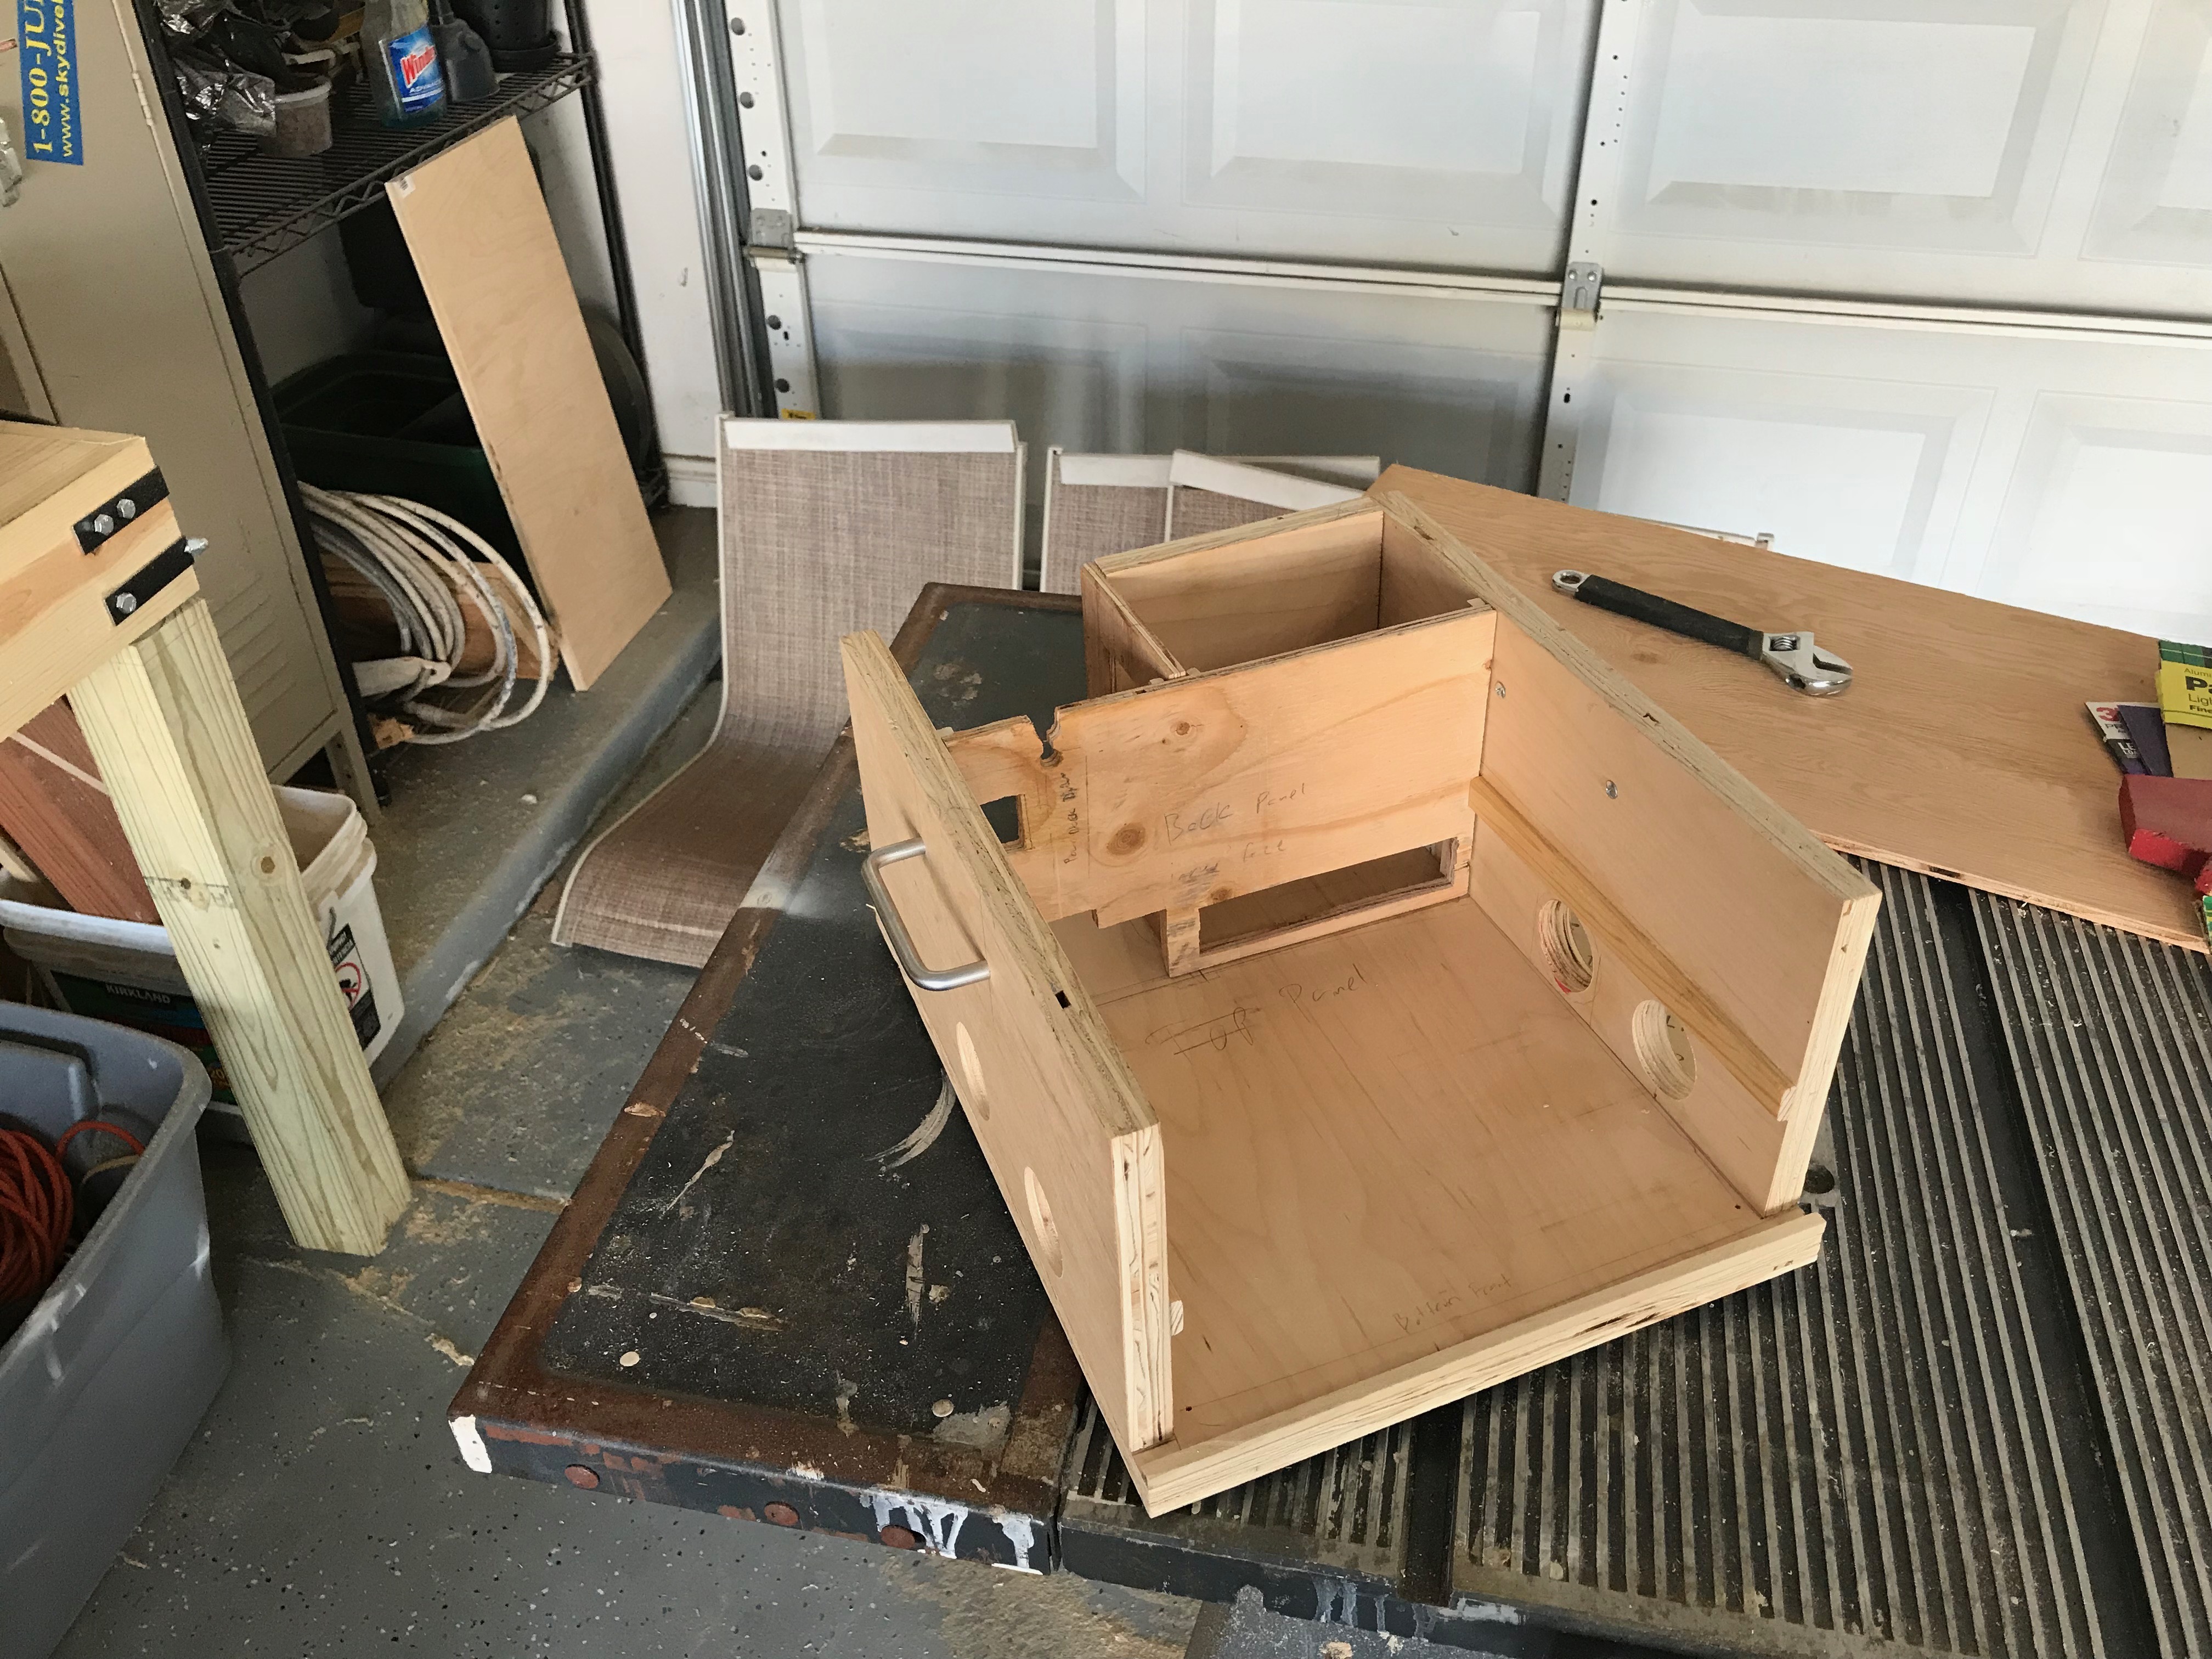
Now add the shelf. The shelf is NOT mounted but is allowed to free float. This was done just in case we need to make modifications in the future. You can also see that the shelf contains a wall and stop block for the table power supply on the left side. 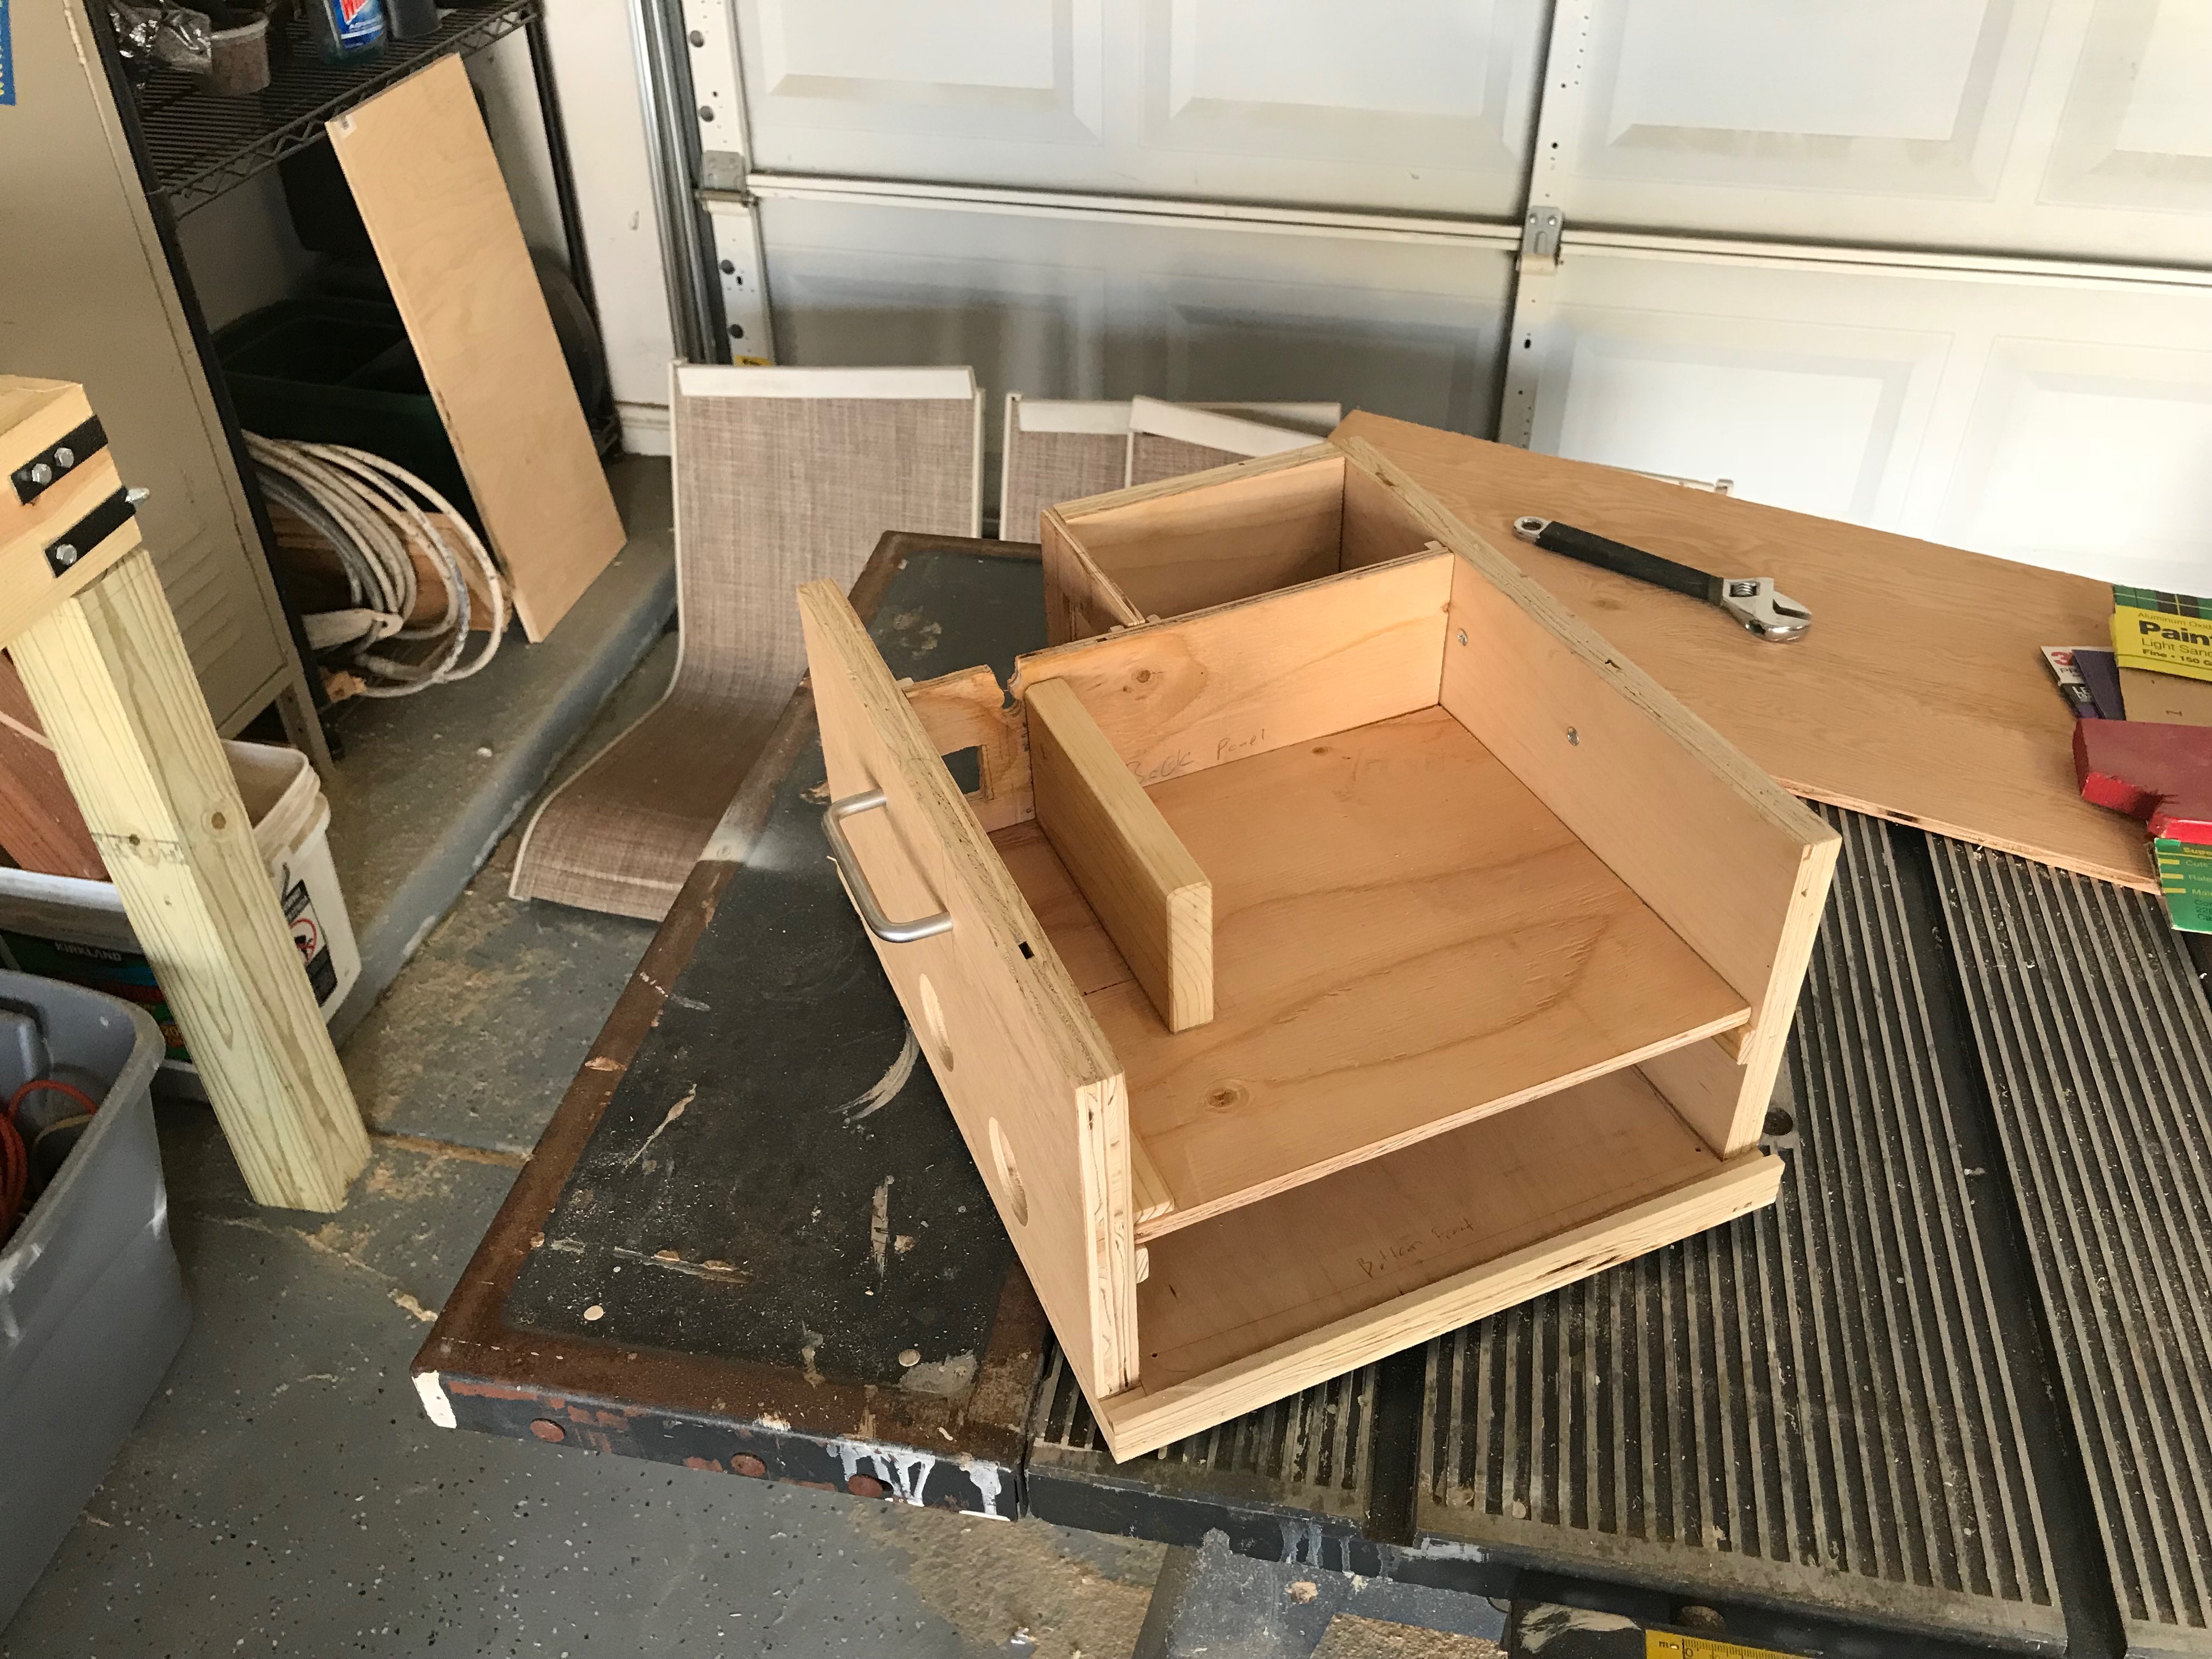
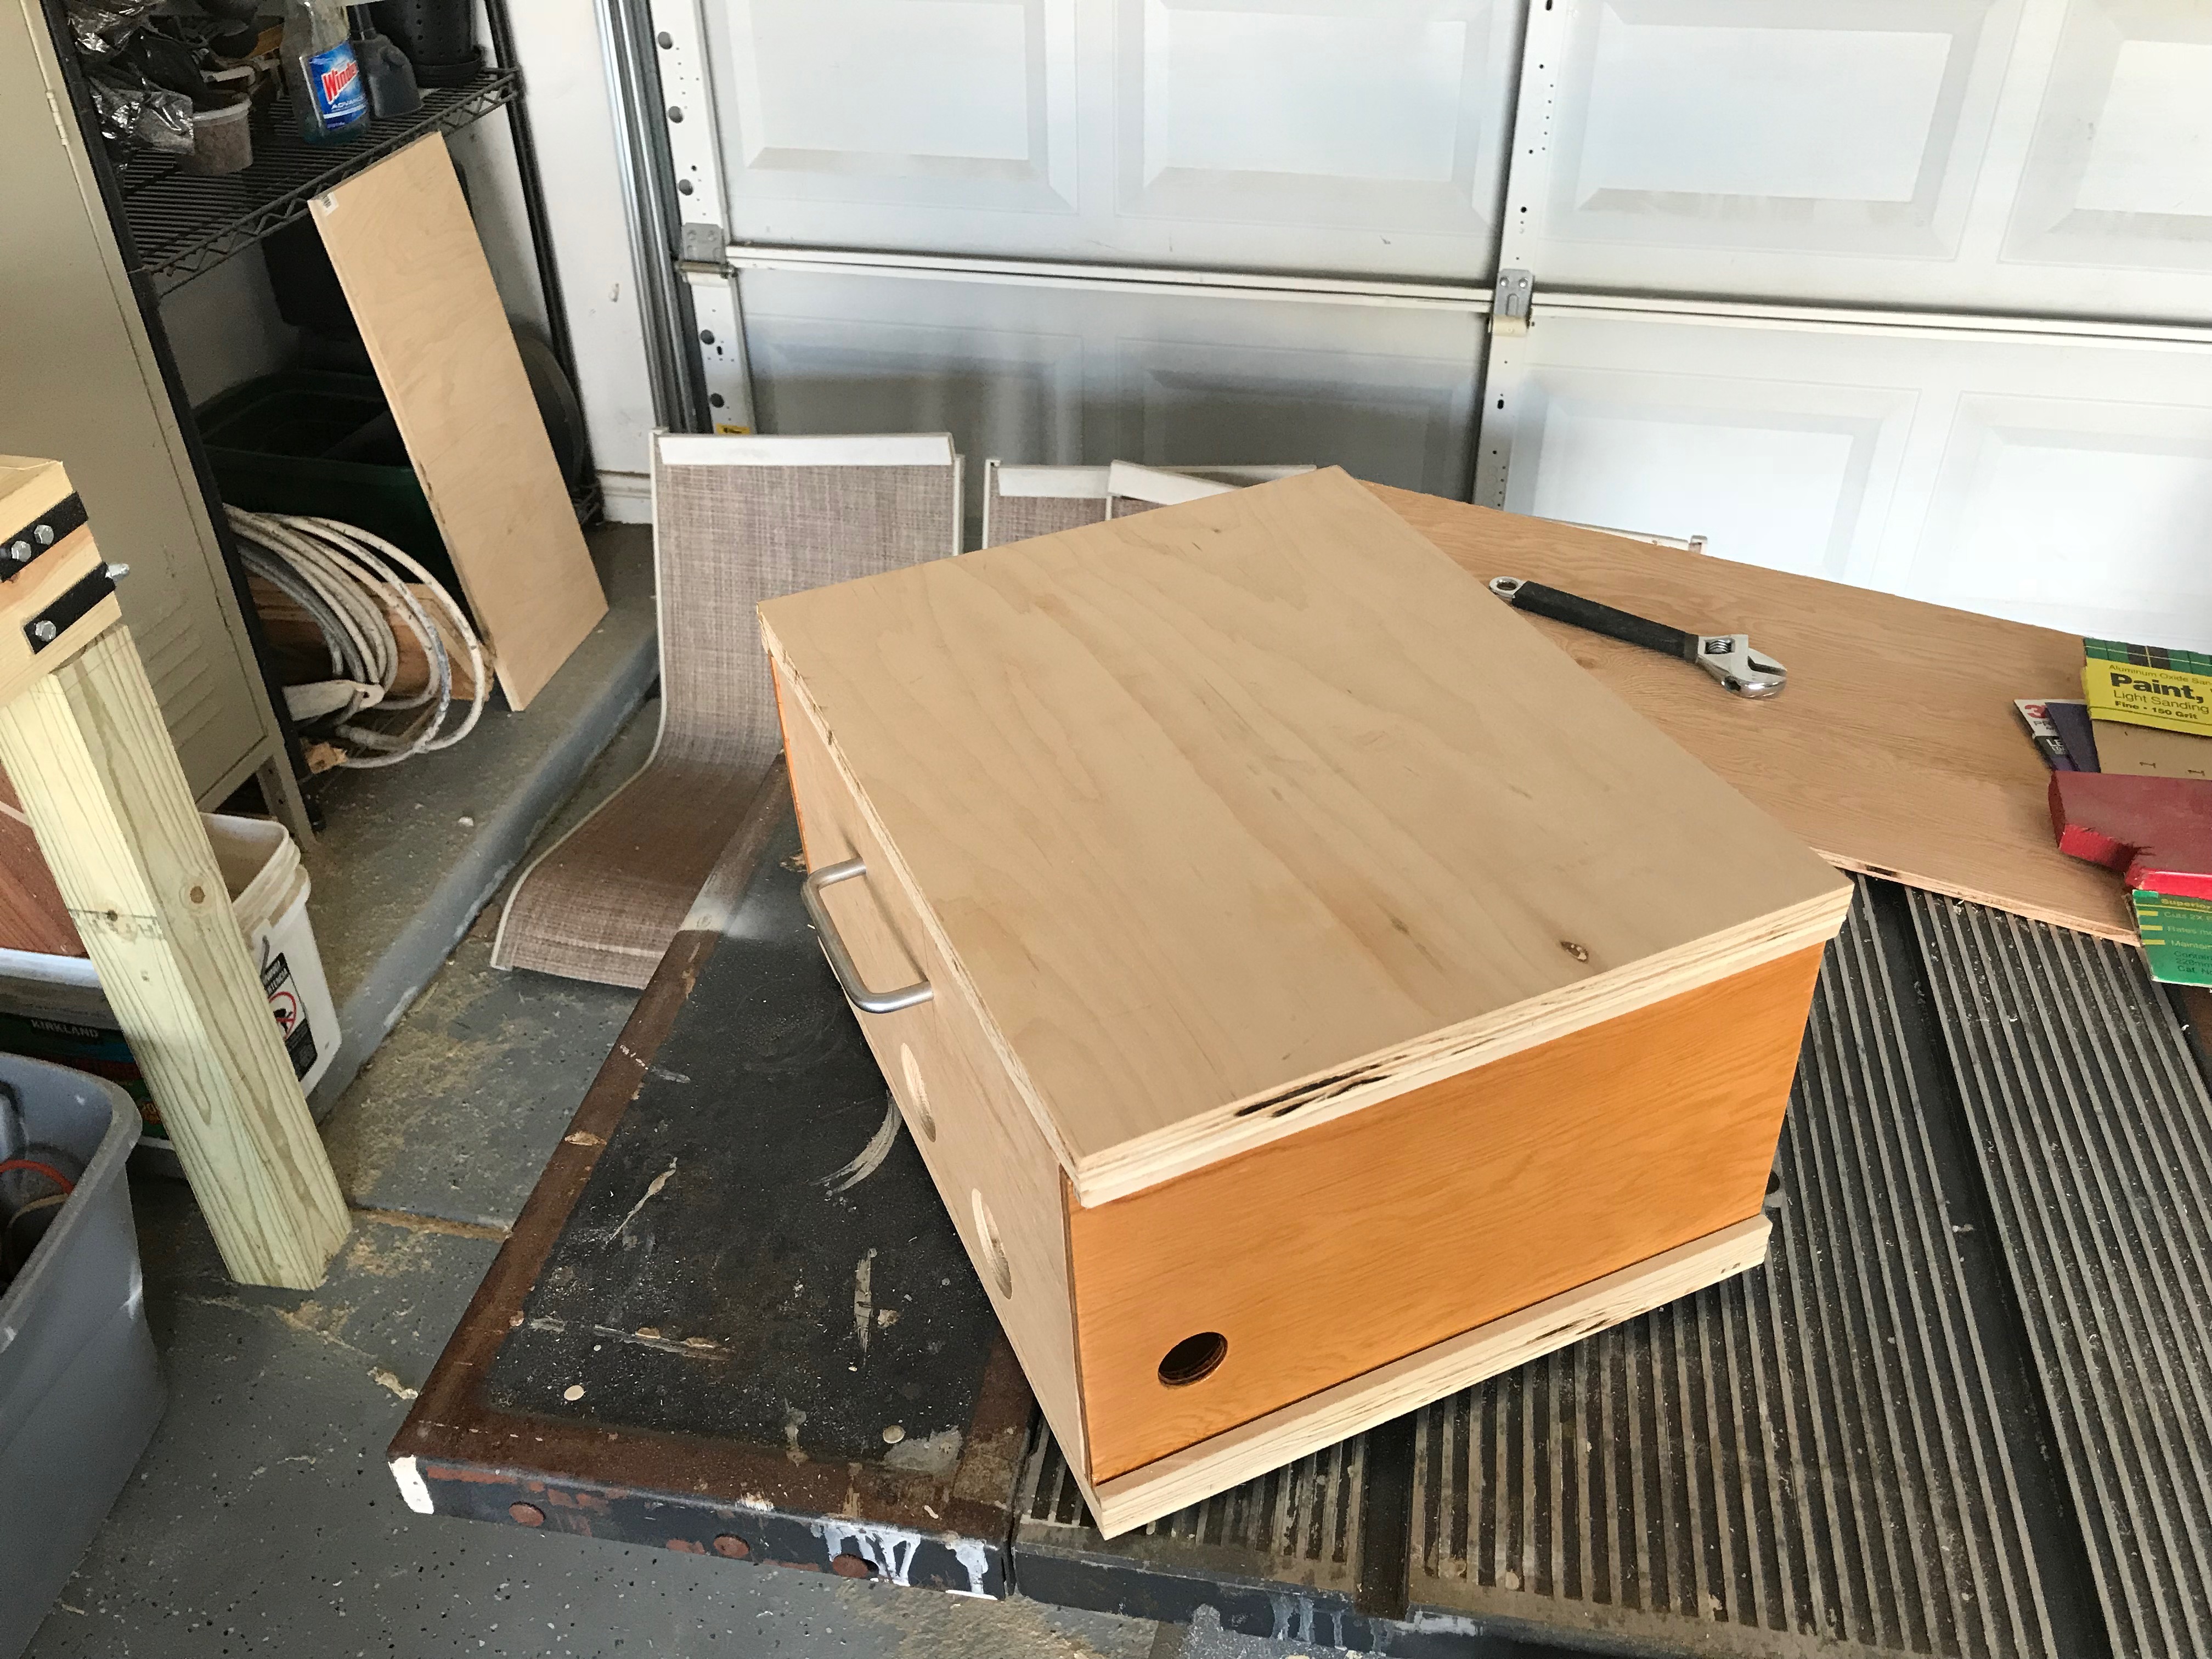
And finally the top with the front sliding door inserted. We decided to NOT glue the top down but to use screws. This provided a means to access the inside should we need to do so.