
Table Build - Overhead Cams
Article Index
Overhead Cameras
After the first year of using the hole cameras we say the need to have a better overhead camera presents. Like always we thought about it for some time. Not for the cost or complexity but for the easy of installation. We needed something that was fairly light weight and could be incorporated into the BOX.
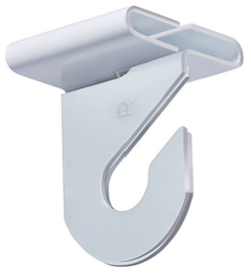
The ceiling over the table is a drop ceiling and, amazingly, slopes up a 10 degree angle. As such the unit had to be less than 6 pounds and we struggled with out to get it high enough to get the coverage. In the end we found these drop ceiling hooks that would allow direct mounting of the unit via eyebolts.
We knew that two cameras would be needed and that we wanted them in the center. The guys at Bakersfield Plastic cut a piece of white PVC and we began the mounting process.

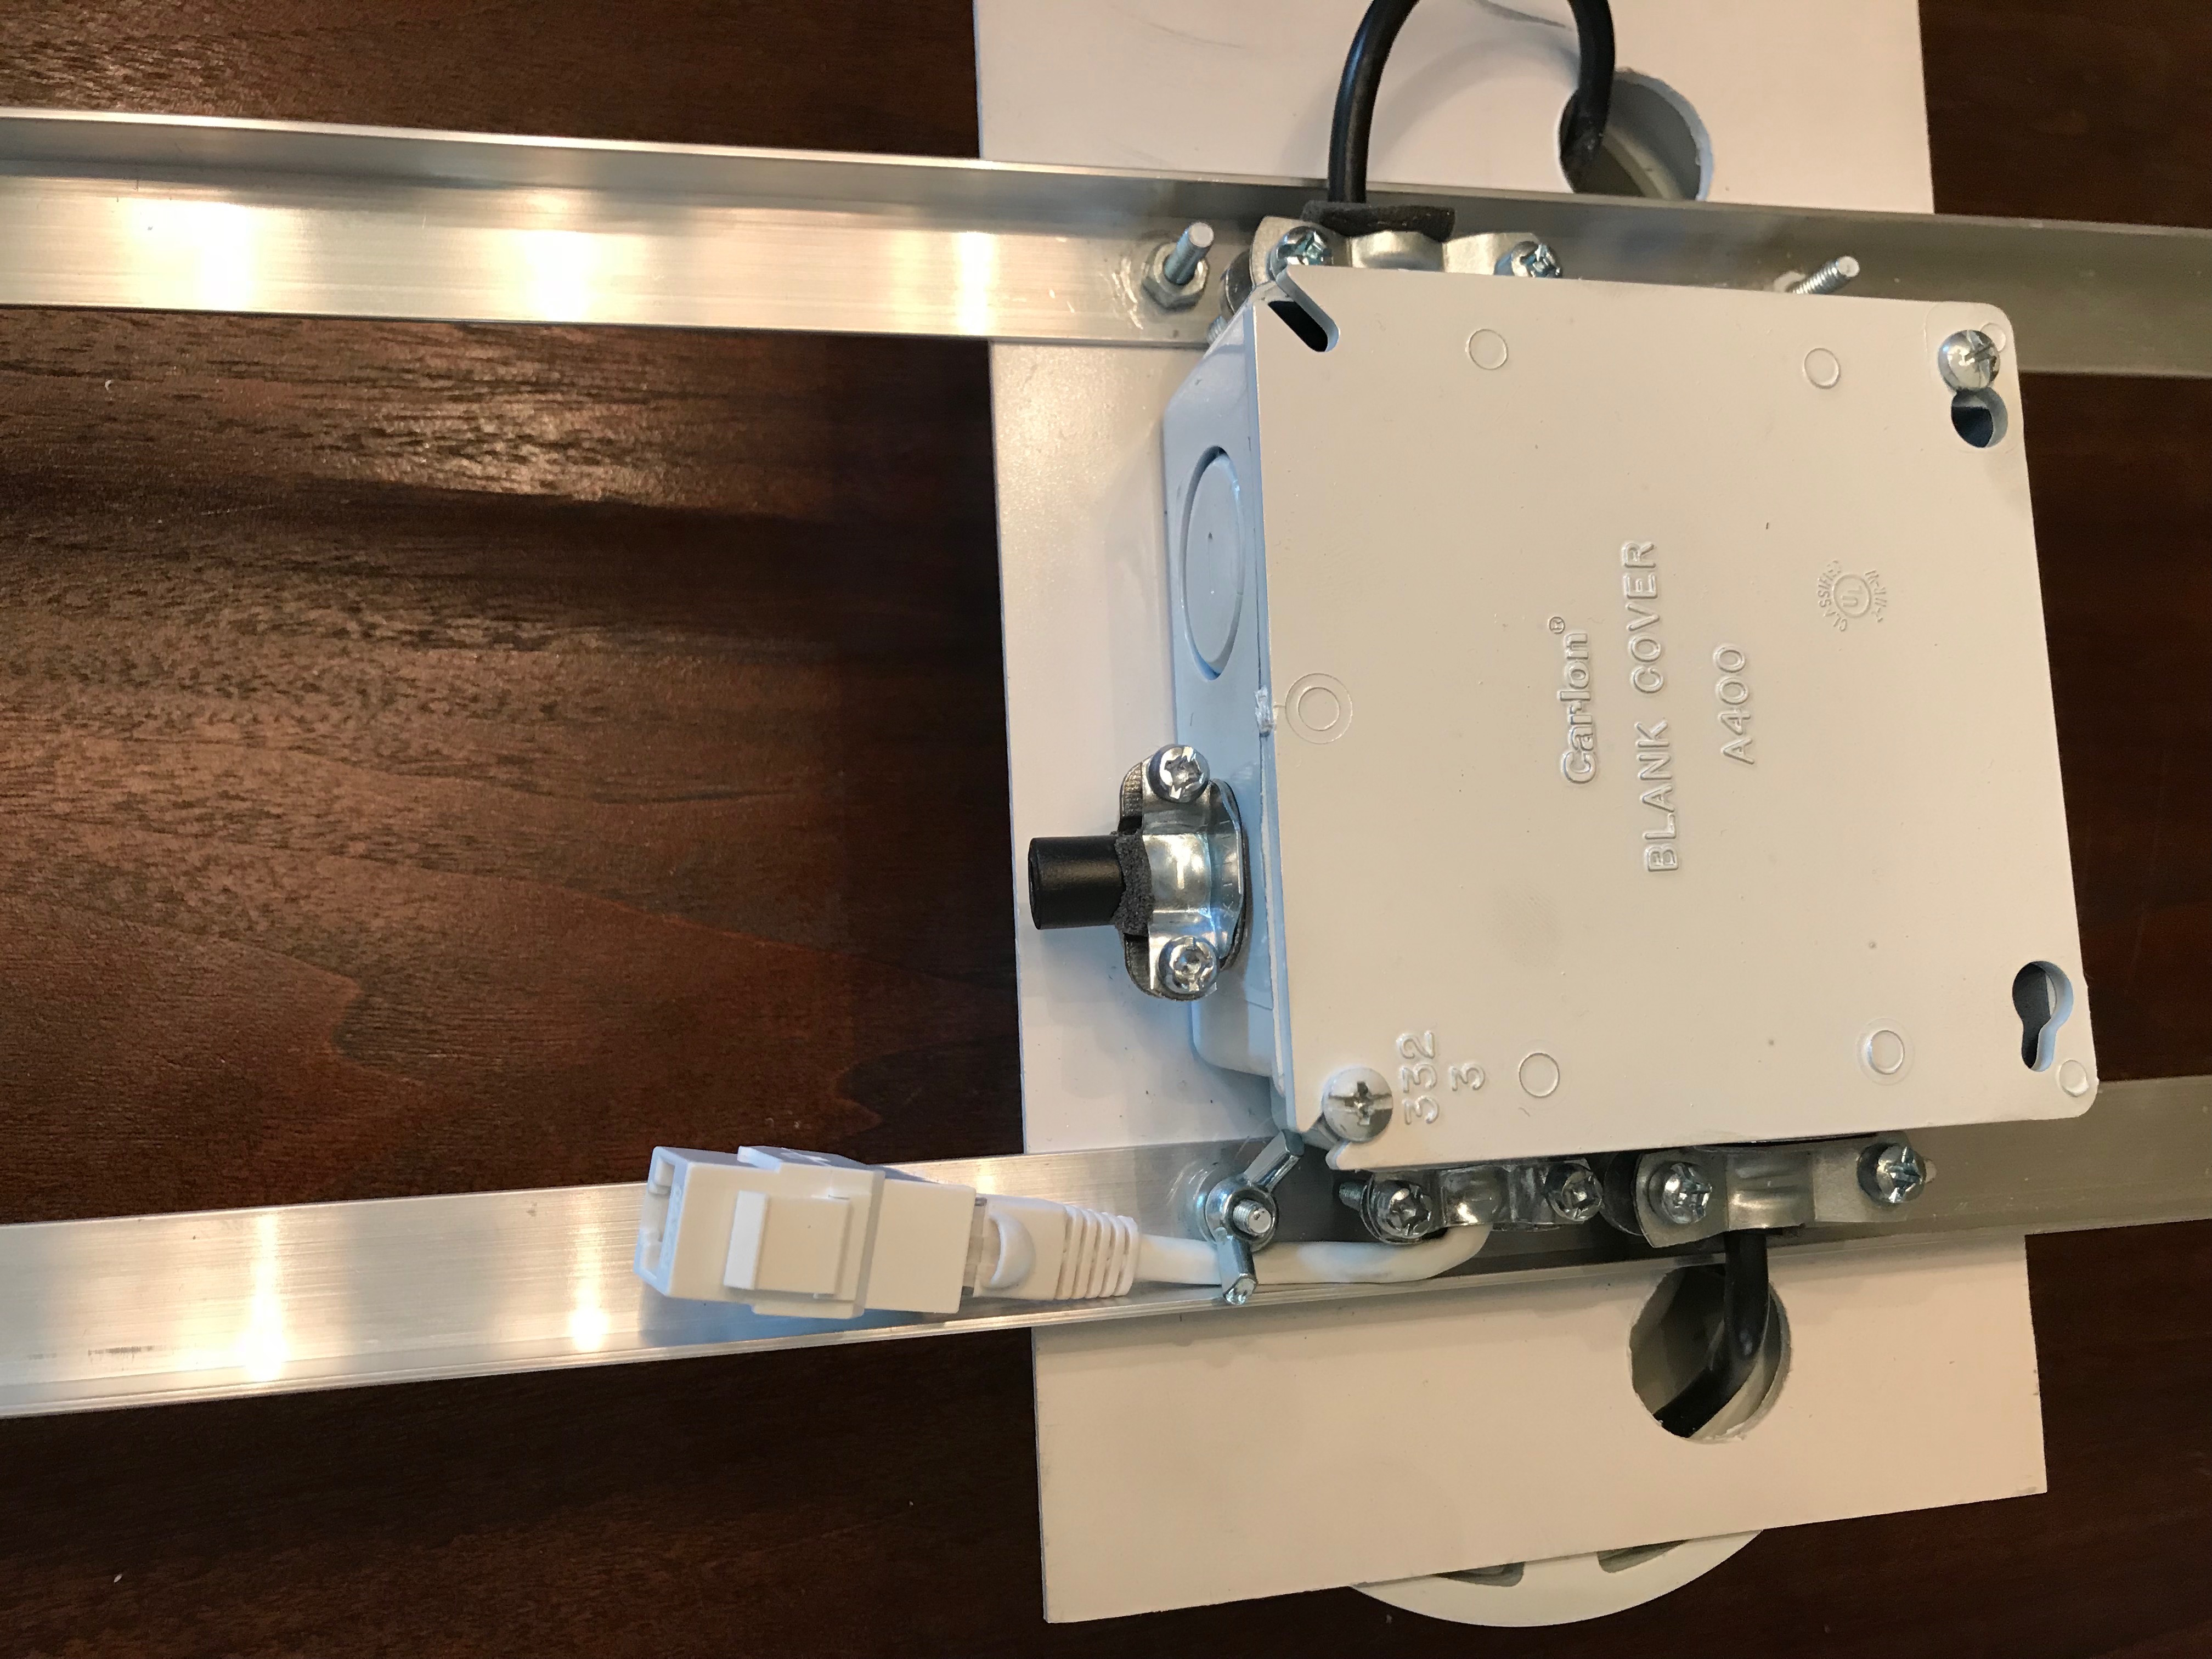
Adding a 2 gang plastic connection box to the top side allows all of the cables to be contained. Using a "standard" off the shelf box allowed for cable clamps to be used which really did help with the cable management. Below is the test fit for the cables.

Once we knew we were on the right path it was time to mount the rails that would hold the platform to the ceiling hooks. OF COURSE we had to undo the bolting that held the cameras to the platform as they were also to hold the rails. While this is the strongest arrangement it did feel like we took 2 steps back for the 1 step forward. It was the right move however and obly took about 20 minutes.

In the previous photos you can see the network (Cat5) cable come out of the side. We considered moving the network cable to the same side but then the people under the rig would see more of the cabling that we like. The solution was actually very easy. We loosened the cable clamp, pull out some slack, retightened the clamp and then used a wing nut to secure it to the same post that holds the rail.
Once the rig was built it was time to modify the BOX and to see of everything still worked. First was adding the new baluns to the back of the DVR and connecting the internal Cat5 to the back of the new keystone plate. Color coding this time was quite easy!

After, and with great stress, we powered up the new cameras and the DVR to see of everything was a go.
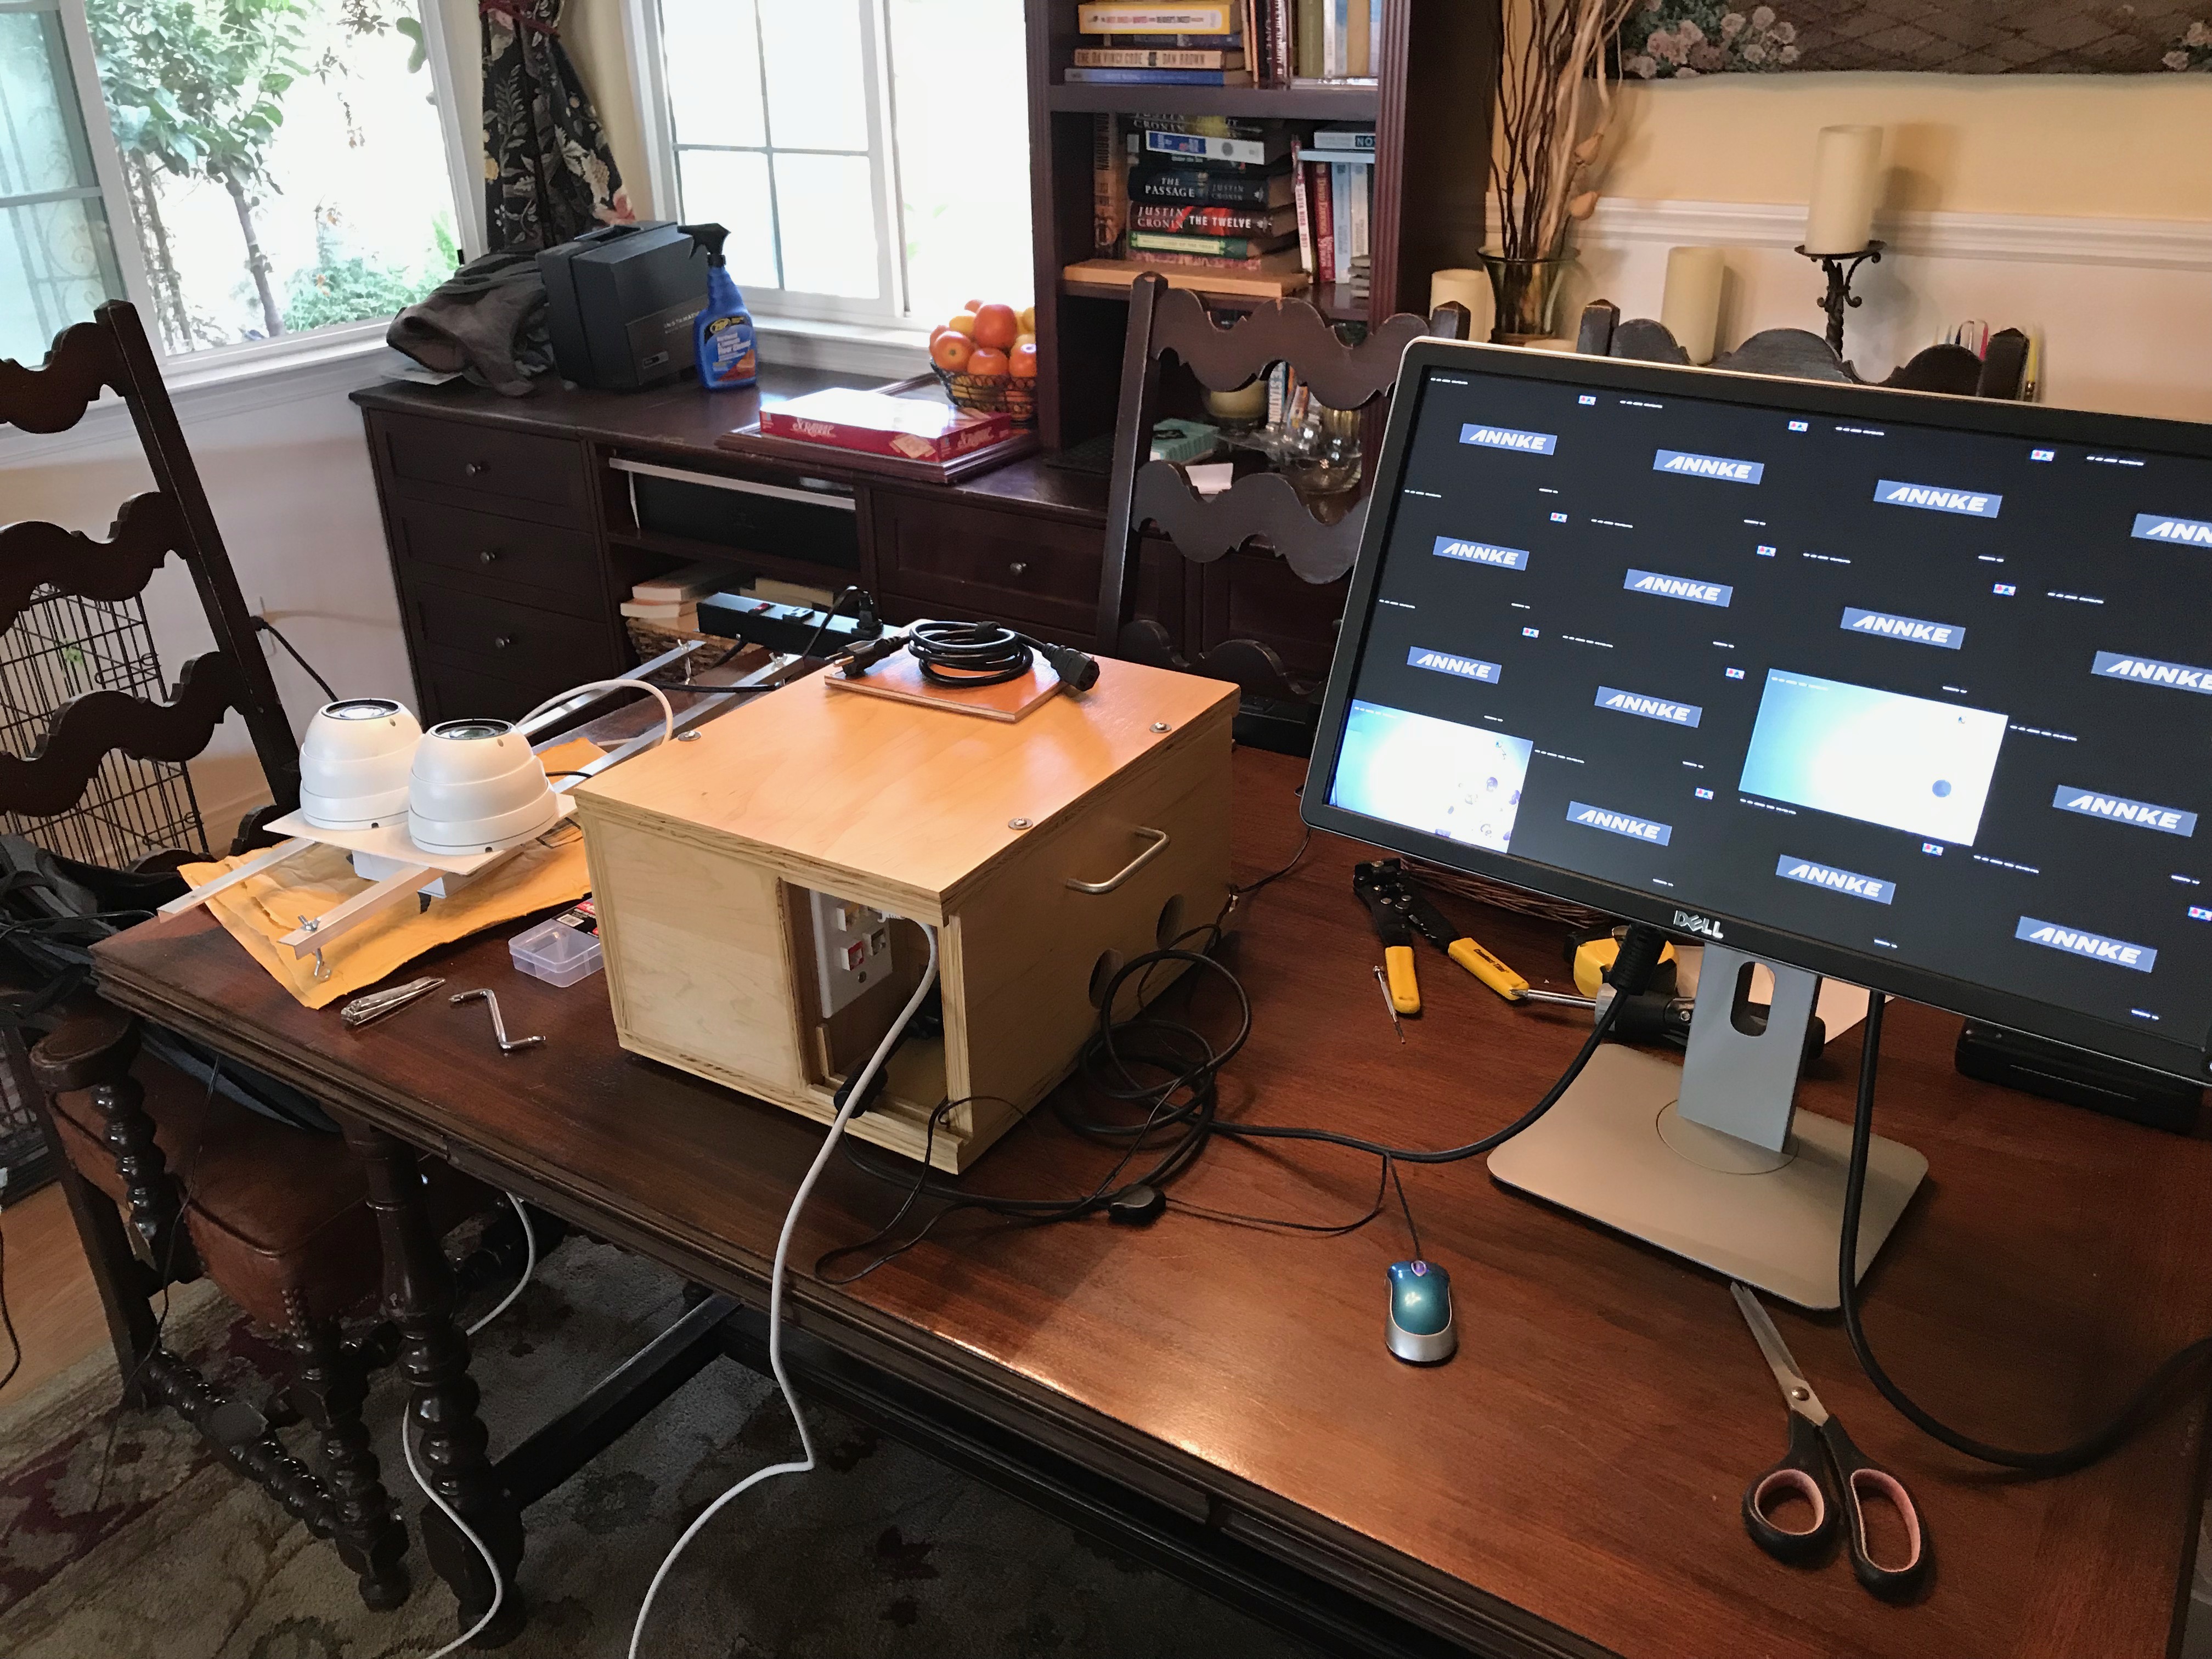
One small issue is that we plugged in the baluns to the wrong channels. We wanted to use channels 11 and 12 but wound up on 11 and 13. Obviously this is not important but we may fix this by opening up the back of the rig and swapping wires later. (or not) The DVR only records channels when there are inputs.
Visitors to the site will see the product of this work in future tournament videos.
As always, thank you for your time in reading this!